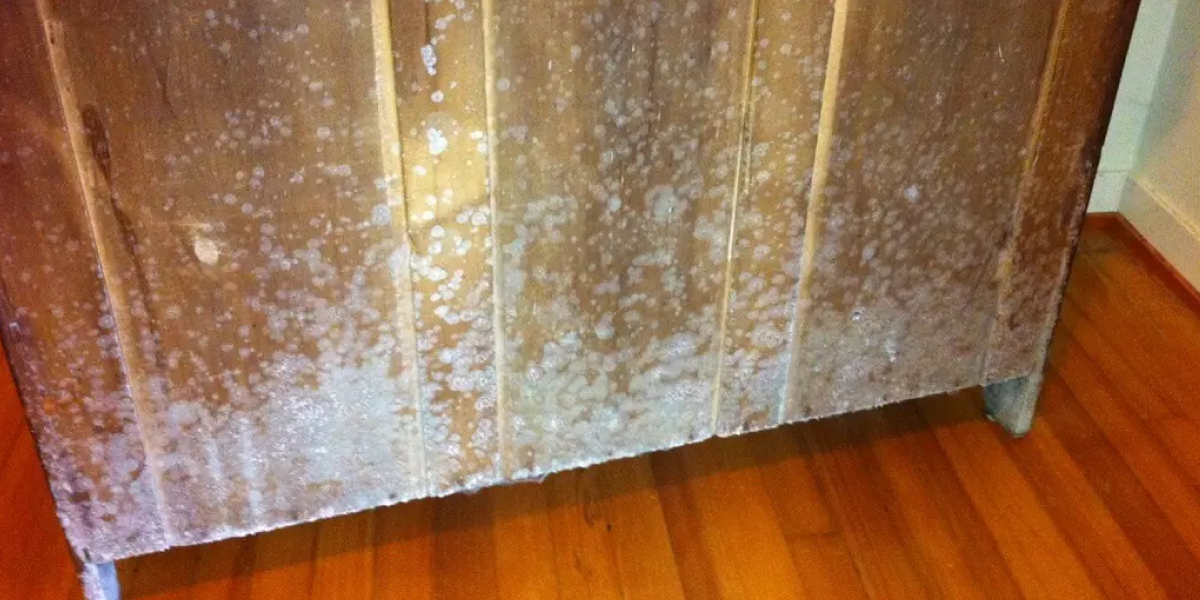
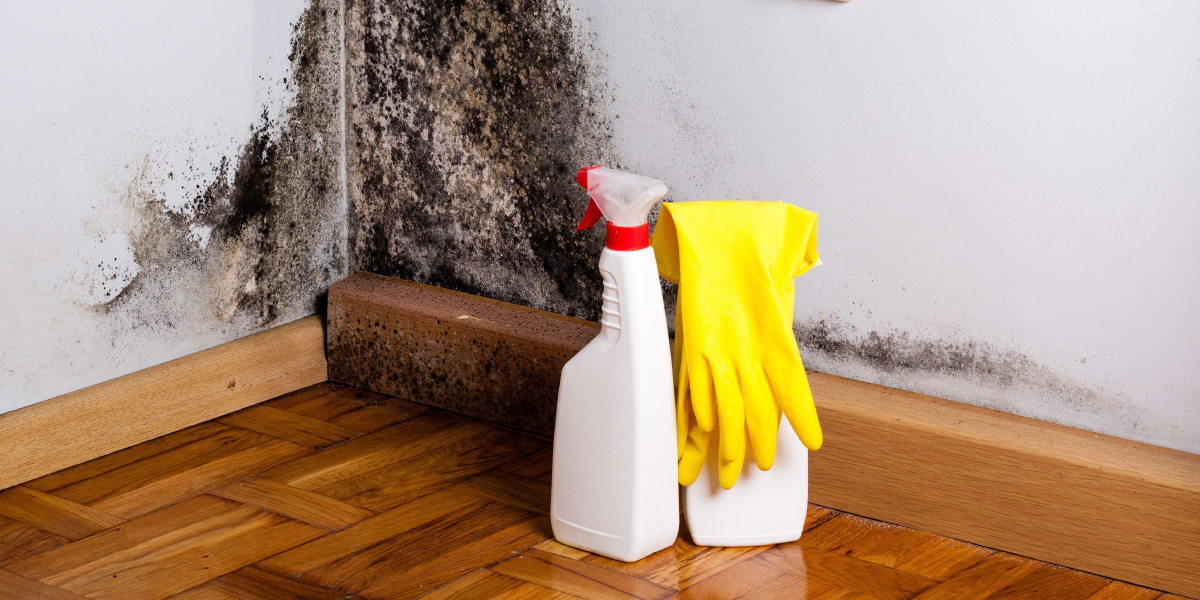
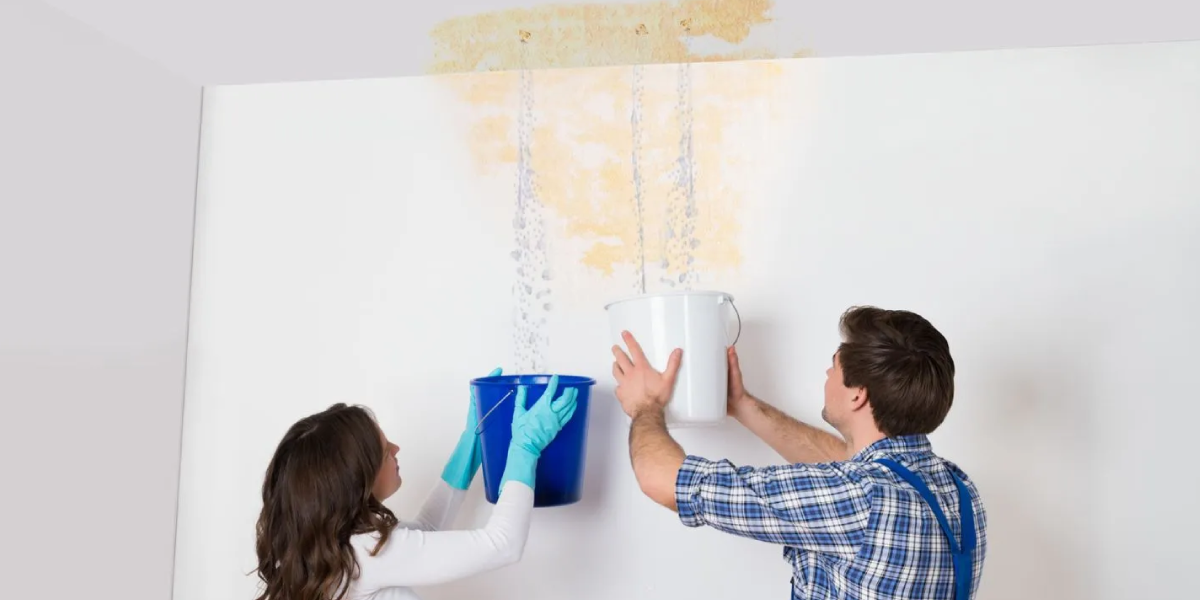
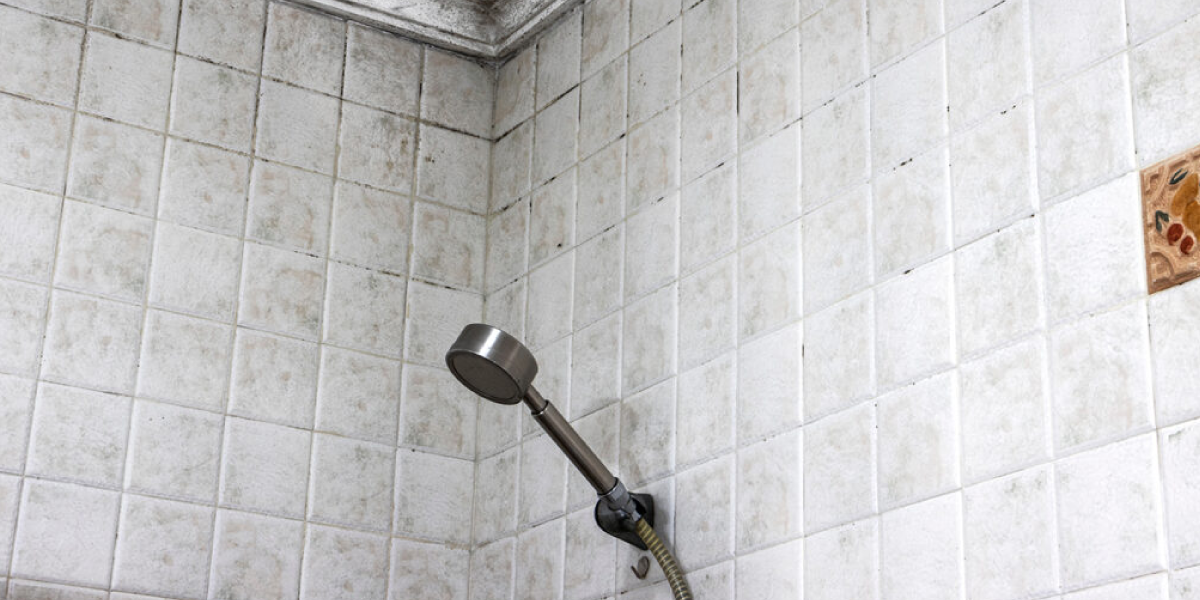
Of all the things that can appear in your shower, mold is one of the most harmful. To be completely safe, you must know how to remove mold from shower. You can use Vinegar and Baking Soda, Hydrogen Peroxide, store-bought mold cleaners, or even Bleach in extreme cases to clean mold from your shower.
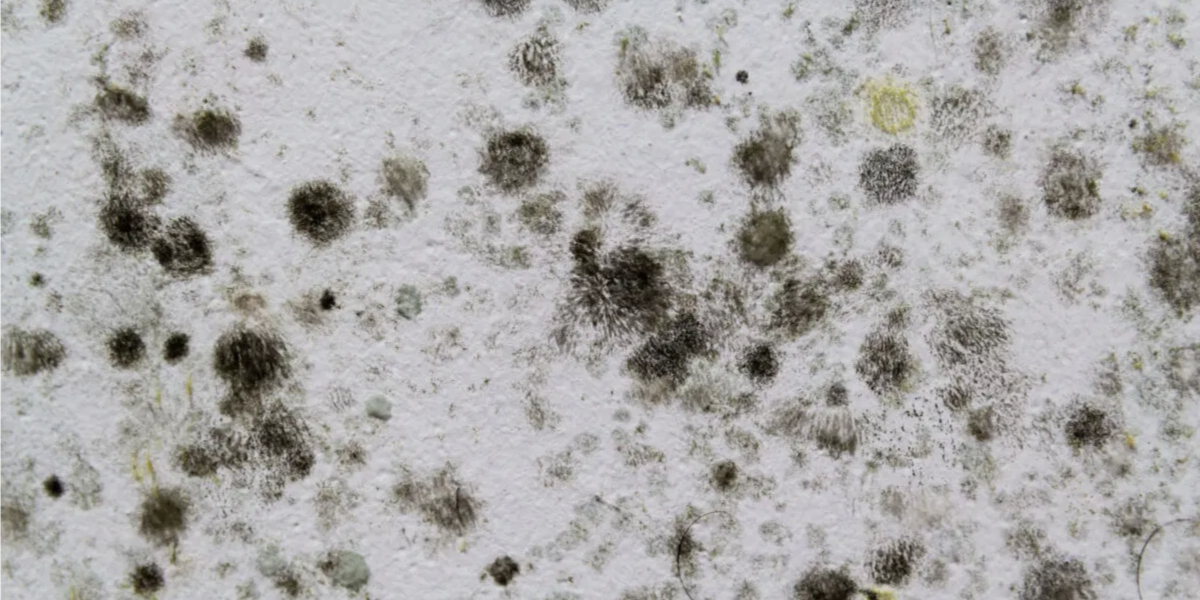
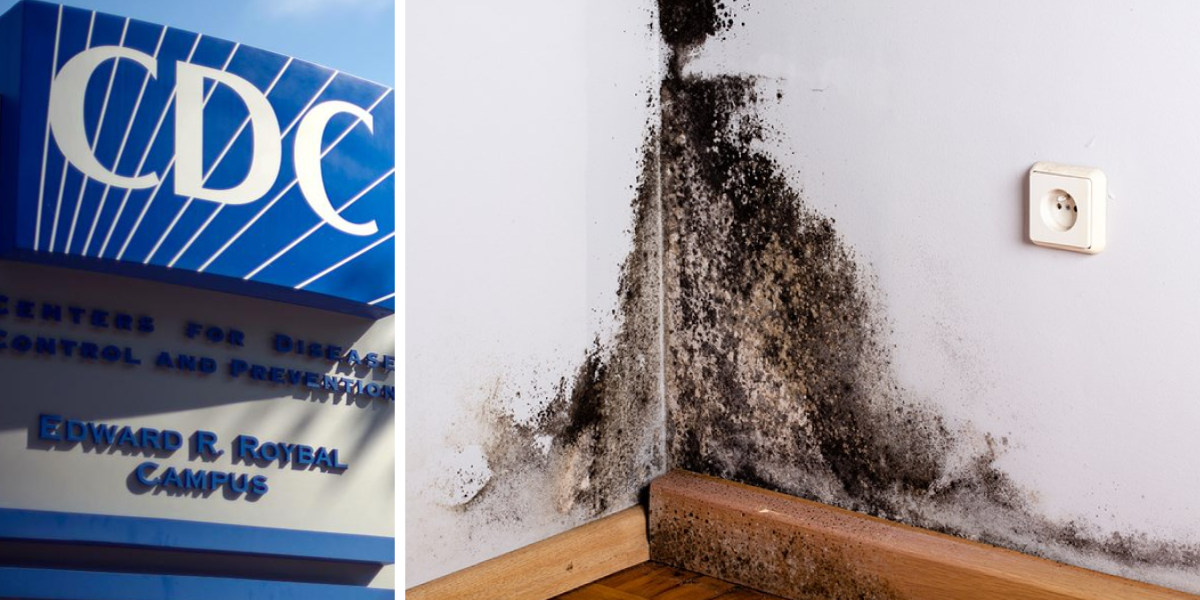
Mold is a fungus that grows in damp areas, and reproduces by spreading spores through the air. These spores get into the respiratory system of humans to cause various fatal diseases. So, it is very important to keep your shower free of mold.
Let’s have a look at how you can clean mold from your shower.
How to clean mold off a shower
To get rid of mold in the shower, you must know a few things. First, the cleaning agent should be safe for the surface as well as your health. Next, it must be effective enough to get rid of every single ounce of mold from your shower. Finally, it should also be able to prevent mold from growing back in the same place.
With this in mind, here is how to remove mold and mildew from the shower.
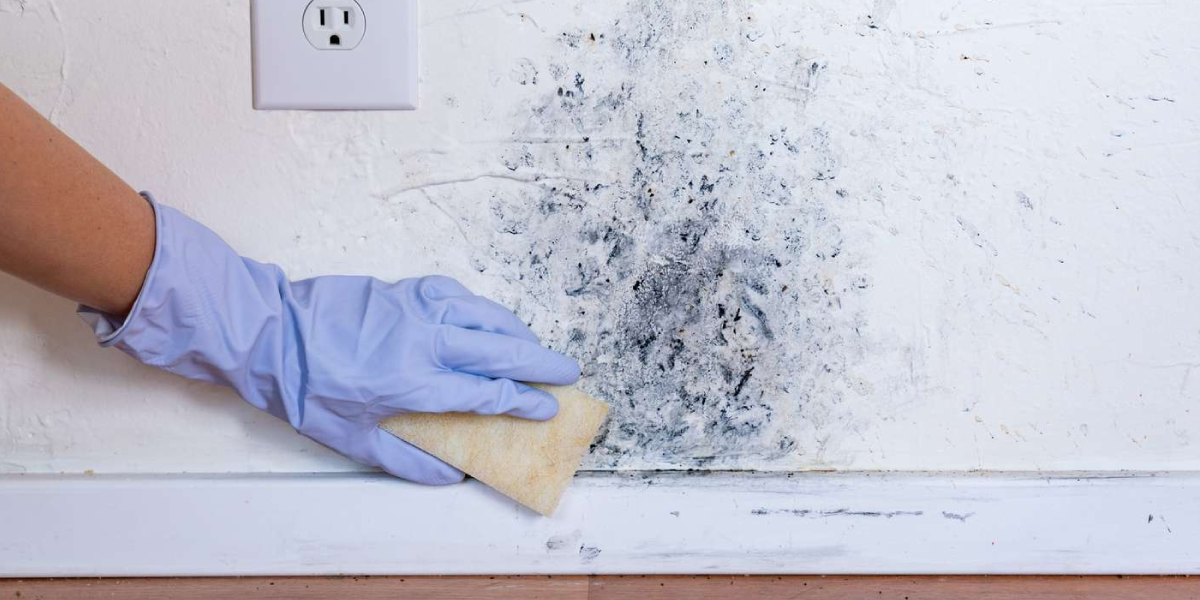
1. How to remove black mold from shower using Baking Soda and Vinegar

As far as cleaning agents go, there is hardly a better duo than good old baking soda and Vinegar. This is one of the most used as well as effective combinations to clean and disinfect any household surfaces. To get rid of mold in the shower with these, you need baking soda, white vinegar, and a sponge or a scrub brush. If you want, you might also get a spray bottle.
Procedure
- First, using the spray bottle, spray white vinegar directly onto the mold-infested areas. White vinegar is one of the most effective and safest mold killers available, so you won’t have to worry about getting mold out with this. Now wait for 10 to 15 minutes.
- Now, sprinkle a generous amount of baking soda onto the area where you applied vinegar. Wait until the baking soda starts to bubble up.
- Now use a sponge or a scrub brush to scrub the area thoroughly. Keep scrubbing until you can not see any more mold.
- Rinse the area properly and dry it off.
2. How to remove pink mold from shower with Peroxide

Peroxide, or Hydrogen Peroxide, is another great way to remove pink, black mold, or any other contaminants from household surfaces. But you have to be a bit careful since Hydrogen Peroxide can cause irritation if it comes in contact with bare skin.
To remove mold in the shower, you will need a 3% solution of Hydrogen Peroxide and a spray bottle; that’s it.
Procedure
- Spray Hydrogen Peroxide directly onto the mold-infested area with the help of the spray bottle.
- Wait a few minutes, 10/15 minutes is the ideal waiting time. This gives the peroxide solution enough time to kill the mold spores.
- Using a sponge or a scrub brush, thoroughly scrub the area. A bit of elbow grease should do the trick.
- Rinse and dry the area properly.
3. How to get rid of mold in the shower with Bleach (Least Recommended)
Bleach is one of the most effective but dangerous mold removers out there. It is so dangerous that it is always used as a last resort when it comes to killing mold. But if you don’t have the aforementioned cleaning agents in your home, you can proceed with bleach.
But before using bleach, you must use protective gear, such as rubber gloves and a mask. This is because not only does bleach cause damage to the skin tissue when it comes in contact, but the fumes created by it are also very harmful to the human body, or anybody for that matter.
Procedure
- Create a dilute solution of 1 part bleach with 10 parts of water.
- Use a spray bottle to spray the solution onto the affected area. Ensure your face is nowhere near the sprayed area.
- Wait for 10/15 minutes for the solution to take effect.
- Scrub the solution off with a sponge or a scrub brush.
- Use a generous amount of water to properly rinse the area to completely get rid of the bleach solution.
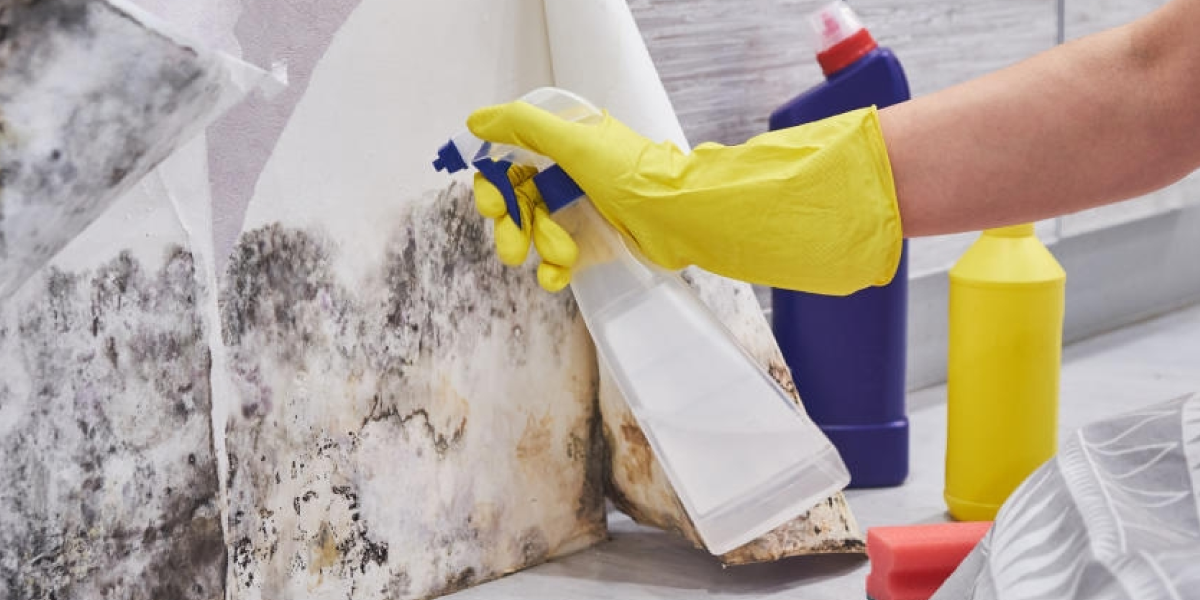
4. Remove mold from shower Other store-bought mold cleaners
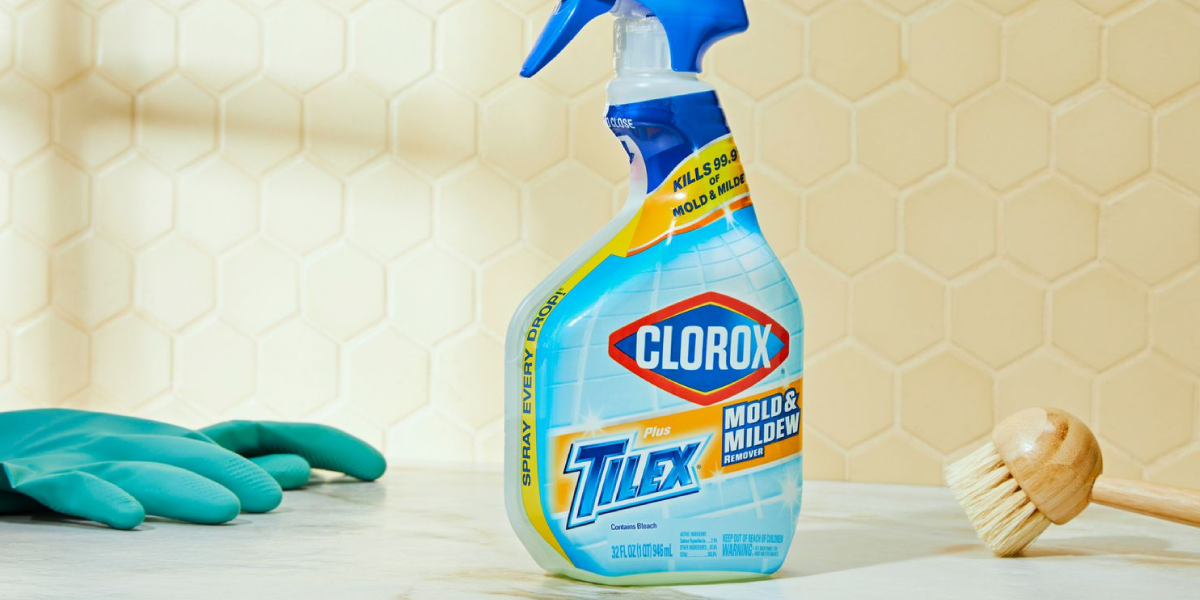
Apart from the cleaning materials mentioned above, there are plenty of mold cleaners available on the market. If you think these will be more convenient for you, then find the one that suits your surface the most.
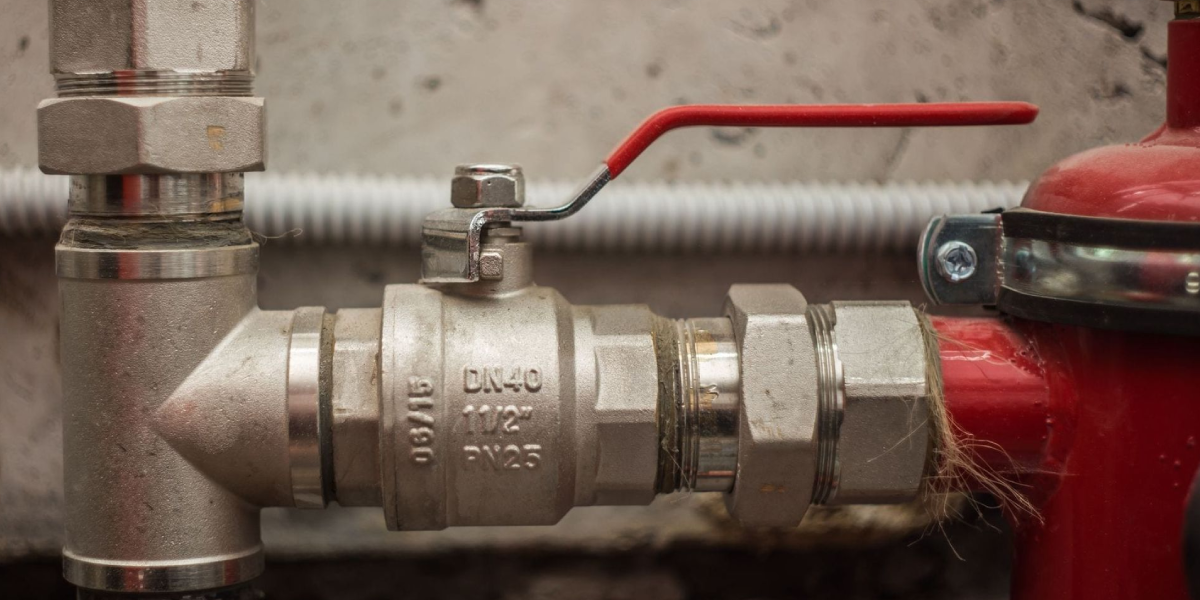
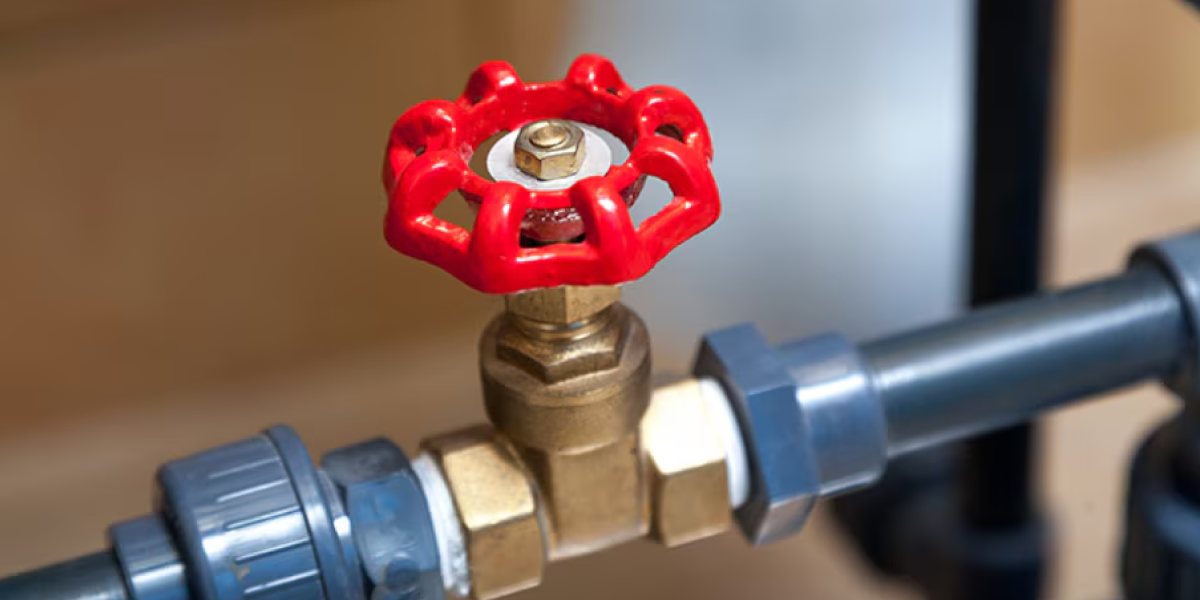
Finding the Right Professional

Choosing the right person or company can make a big difference, so take a moment to check a few important things before you book someone.
- Check Reviews and Licenses: Make sure the professional is fully licensed and has good reviews from other customers. This shows they are experienced and trustworthy.
- Ask About Emergency Services: Not all companies are available after hours. If the leak happens at night or on the weekend, you’ll need someone who offers 24/7 emergency service.
- Get Multiple Quotes: Don’t go with the first option you find. Ask a few companies for quotes so you can compare prices and see who offers the best value.
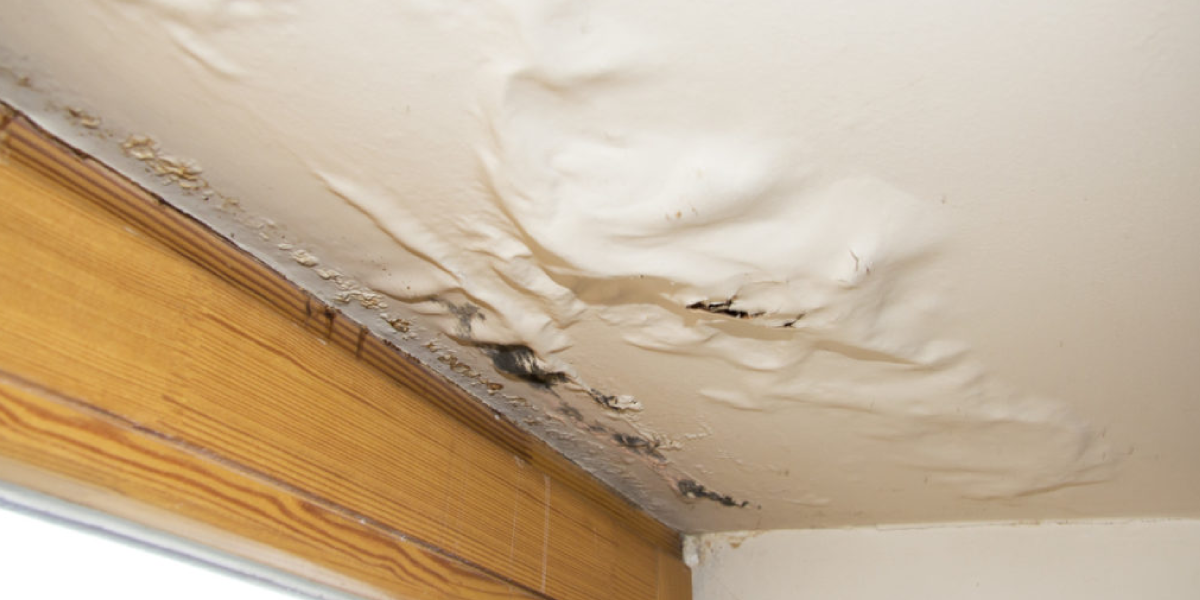
- Look for Leak Detection Services: Some companies have special tools to find hidden leaks inside walls or ceilings. These experts can save time and avoid extra damage.
Final Thoughts
Removing mold from showers is absolutely necessary for a few reasons. It will keep your home healthy, you won’t risk slipping on a moldy surface, and finally, it will not make your shower look like a haunted home. So, choose any of the above-mentioned ways to clean mold from your shower, based on what is available near you.
FAQ
1. How to remove mold from the shower floor?
Mold can not only grow in and around your shower, but it can also grow on your shower floor. If the mold gets into the grout of your shower floor, use equal parts vinegar, lemon juice, and baking soda to make a paste. Then use a toothbrush to apply the paste to the affected area. Wait 5/10 minutes, then rinse the area off with warm water.
2. How do I get rid of black mold in my shower?
Of all the molds that grow in your shower, black mold is one of the most harmful. To remove black mold, either a vinegar/baking soda solution or a hydrogen peroxide solution can be used. Finally, rinse it thoroughly.
3. What is the best cleaner for shower floor mold?
There are a few candidates for the best cleaner for mold growing on the shower floor. They are:
- White Vinegar
- Baking Soda
- Hydrogen Peroxide
- Bleach
4. Is bleach or vinegar better to kill mold in the shower?
Both Bleach and Vinegar are very effective mold killers, but they have their own traits. For example, bleach is very effective against black molds, which are the most harmful kind of molds. But the downside of bleach is that it is very toxic to all animals, including humans. It also damages the surface to which it is applied.
Vinegar is very effective against regular molds. It also doesn’t harm the skin or surface if it comes into contact. But against the more harmful and stubborn black molds, vinegar falls slightly short of bleach. So, which one is better depends on what you want from your cleaning agent.
5. How do you remove black mold from rubber?
Just as mold can grow on the bathroom and shower floors, it can also grow on rubber. To get rid of black mold from rubber, you need to apply a solution of white vinegar and baking soda to the infected area with an old toothbrush. Then, rinse it using warm water.
6. How to remove mold from the shower floor without bleach?
Bleach, although a very effective mold cleaner, is highly toxic and dangerous. So, it is better to use an alternative method to clean mold from the shower if possible, One such alternative is a solution of vinegar and baking soda, which is the least toxic among all the alternatives.
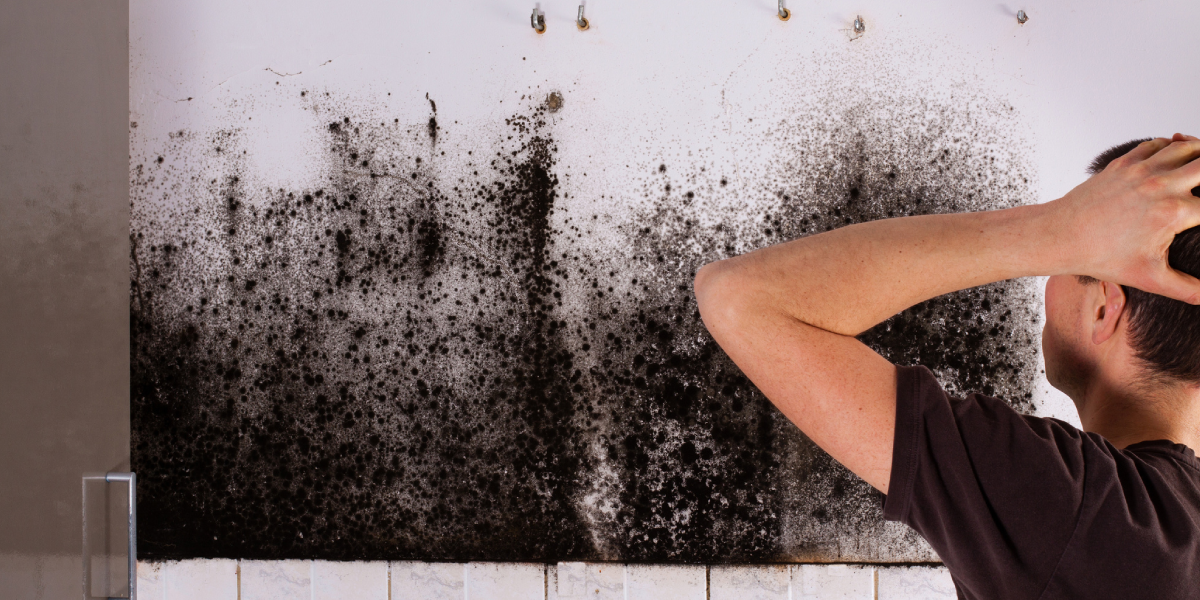
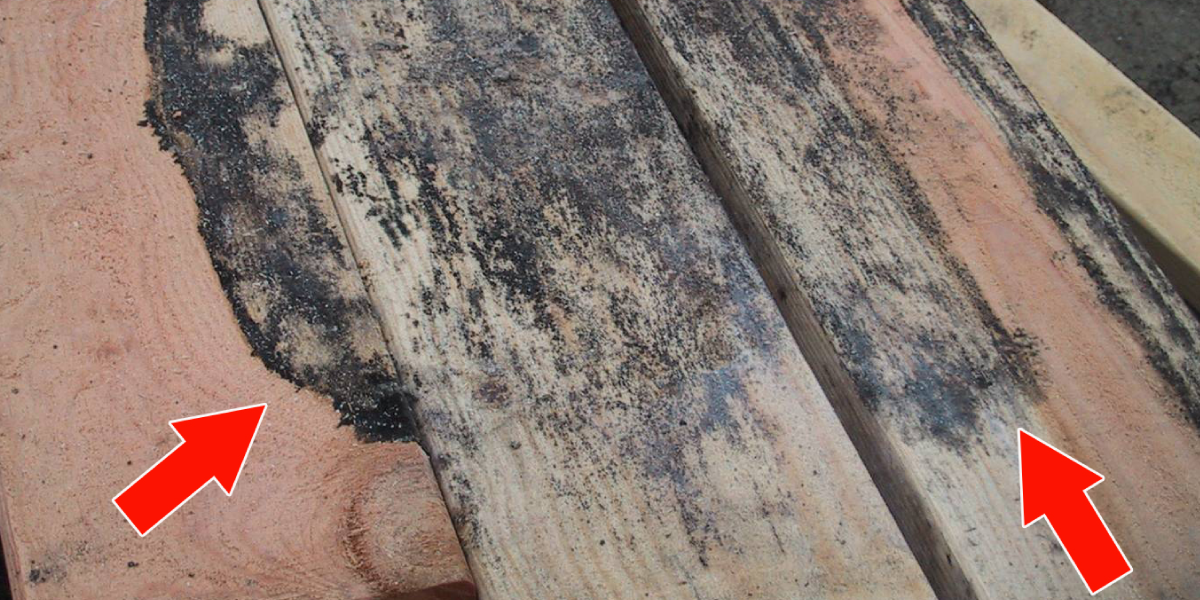
7. Is black mold in the shower dangerous?
Yes, Black mold in the shower is very dangerous, since it spreads toxic spores that cause various illnesses in humans, such as asthma.